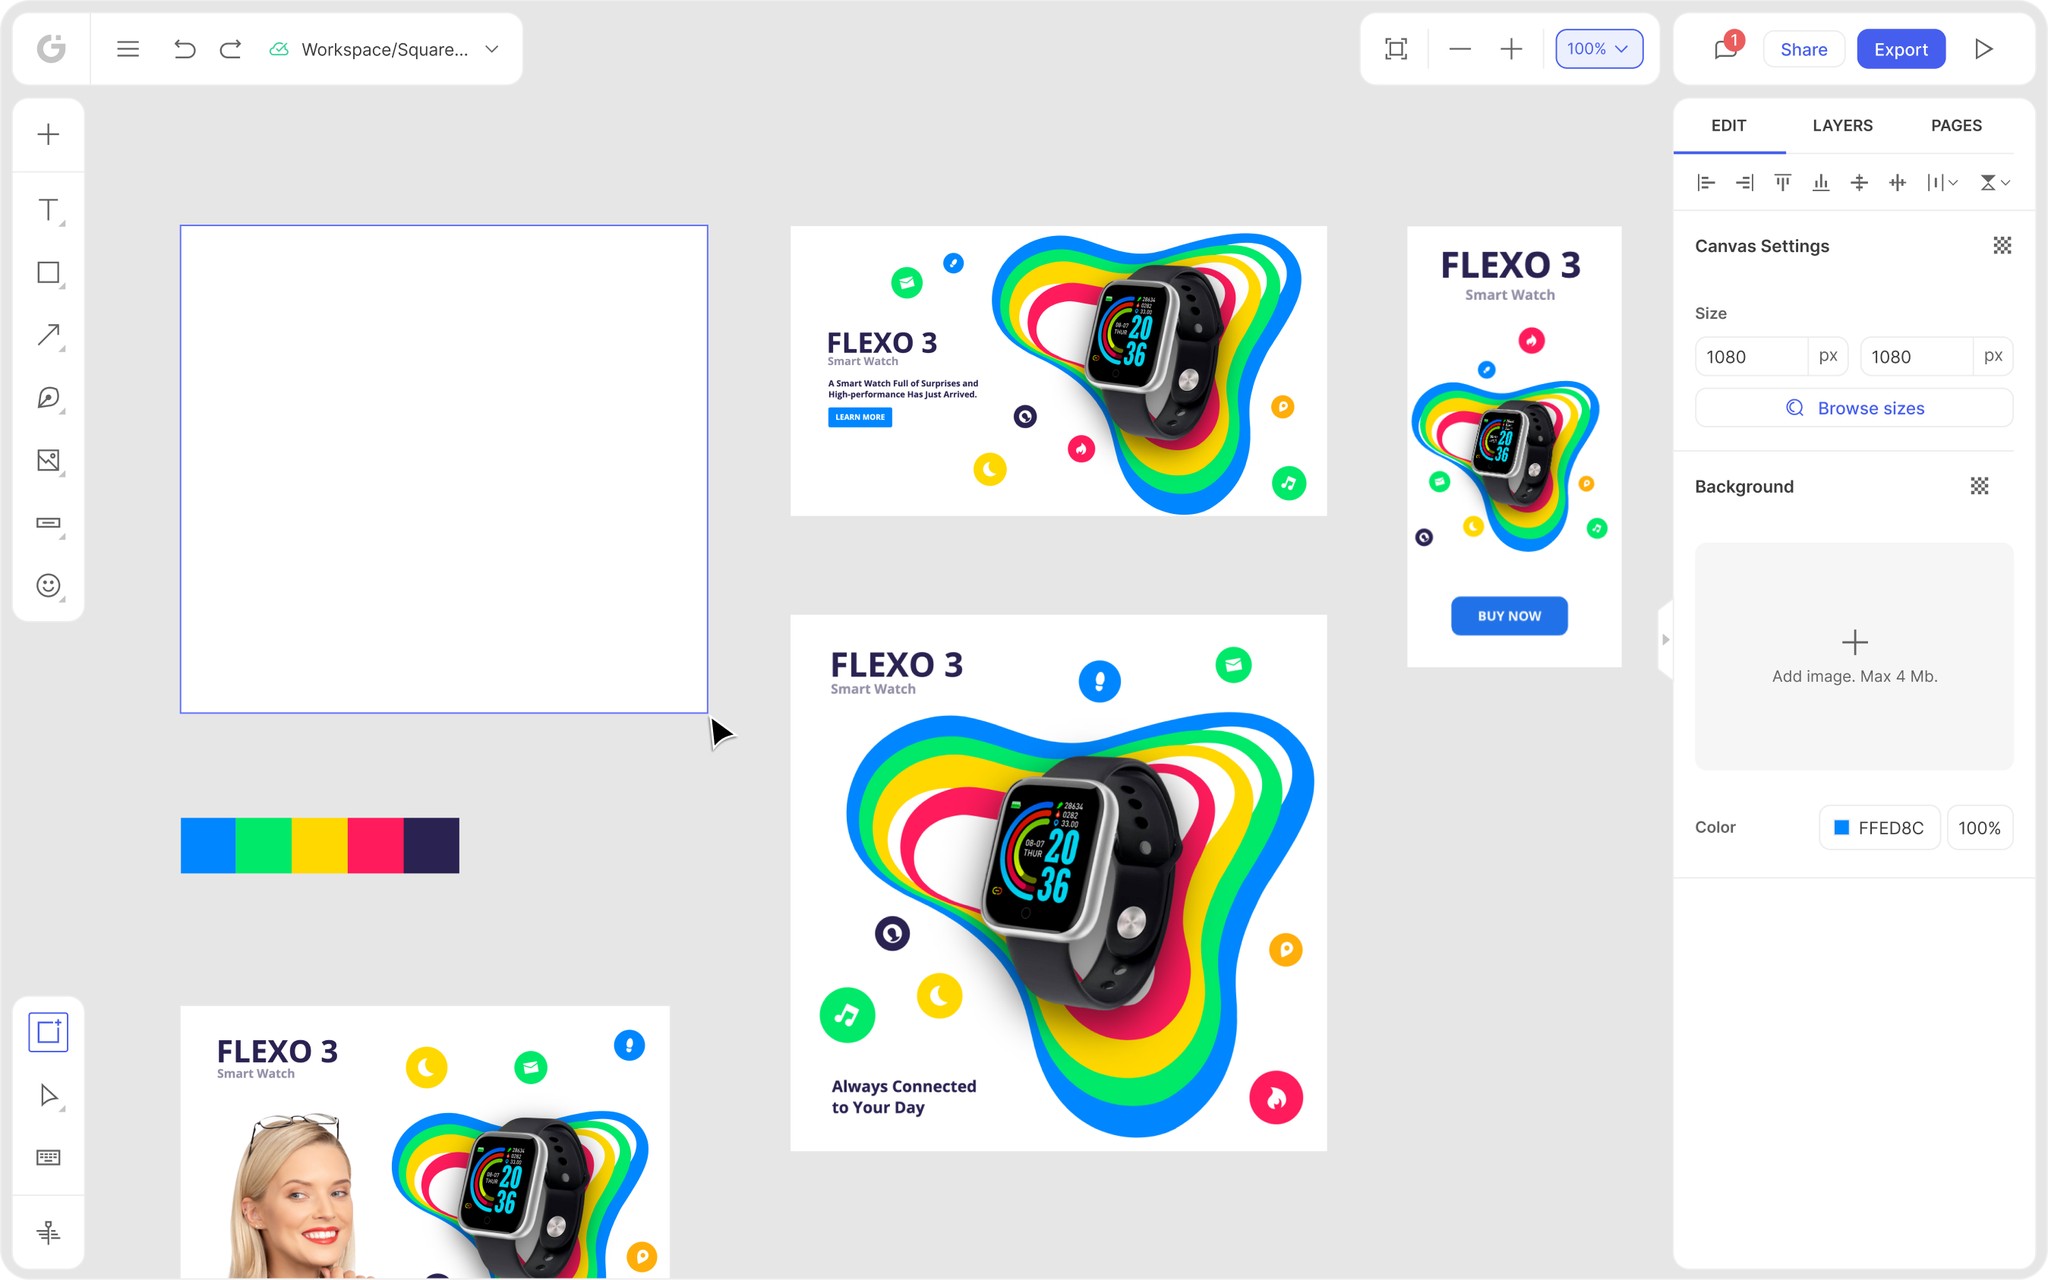
We’re thrilled to announce that Glorify is officially partnering with Contra! This collaboration opens up exciting opportunities for designers, marketers, and creators in the Glorify community.
Posted Nov 9, 2022
•

Design
PicMonkey vs Pixlr: Which Tool Is Better?
What is PicMonkey?
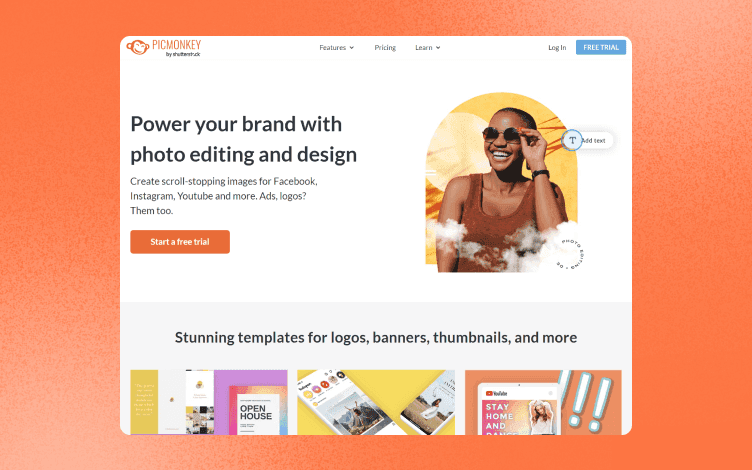
PicMonkey combines the functions of a picture editor, design tool, sticker maker, touch-up tool, and background remover into one app. To create a unique design, you can add text and images to a photo or video.
Also, it allows you to directly export your posts to Twitter, Facebook, Instagram, and other platforms.
What is Pixlr?

Pixlr is a photo editor that allows anybody to create original photographs and share them. In addition, you can easily crop, rotate, and fine-tune pictures with various image-altering tools and features.
PicMonkey vs. Pixlr: What Tool To Choose?
To see which one performs better in this battle of tools, we will assess their strengths and weaknesses, one feature at a time.
Let’s jump right into it!
1. PicMonkey vs Pixlr – Ease of use
Ease of use is a basic idea that defines how simple it is for people to use a service or a product. User experience is significant because it attempts to meet the user's demands. And its goal is to deliver great experiences that keep users loyal to a product or service.
PicMonkey Ease of Use
PicMonkey offers a straightforward interface design, with template categories available from the home page.

Templates are divided into 6 main categories, suitable for social media and business purposes.
After selecting the desired category, ie. Instagram, additional subcategories will appear. There is also an option to start designing from scratch.
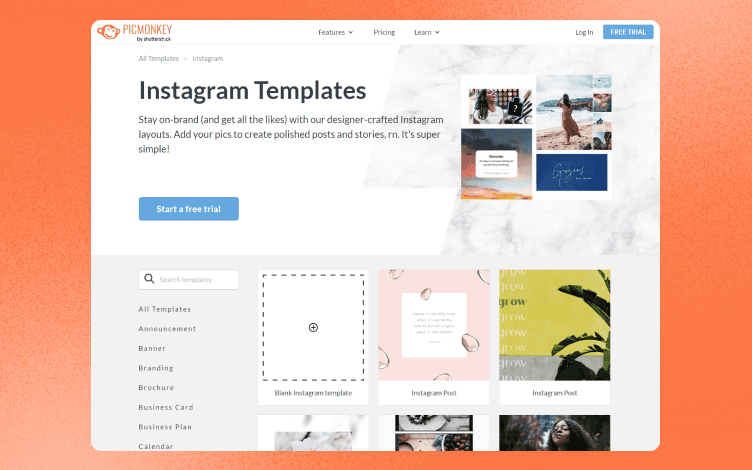
The layout is updated, so now you have an Image editor on the left panel and all the important tools in the top toolbar. Also, if you need help with getting around – a Guided tour with help articles is available on the right. If you wish to save your design, you need to subscribe since this option is not included in the free plan.

Picmonkey’s interface has a clean, intuitive layout that is comfortable to use.
Once you’re done with your design, share it using email or a link. You can also post it on social media, Google Drive, or photos.
Pixlr Ease Of Use
Pixlr has two editors – Pixlr X photo editor and Pixlr E, suitable for professional editing.
From the homepage, launch the one you want, in this case – Pixlr X.

Pixlr has a dark-themed layout, with basic options on the left, like Templates and Images, and recommended social media templates in the page's center.
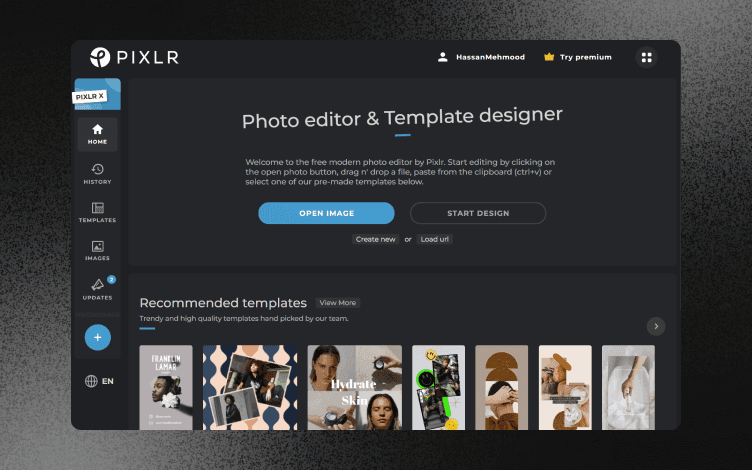
After you select a category you want, ie. Instagram, all the available posts will appear in the main panel. Some of them are free, others are included under the subscription plan.
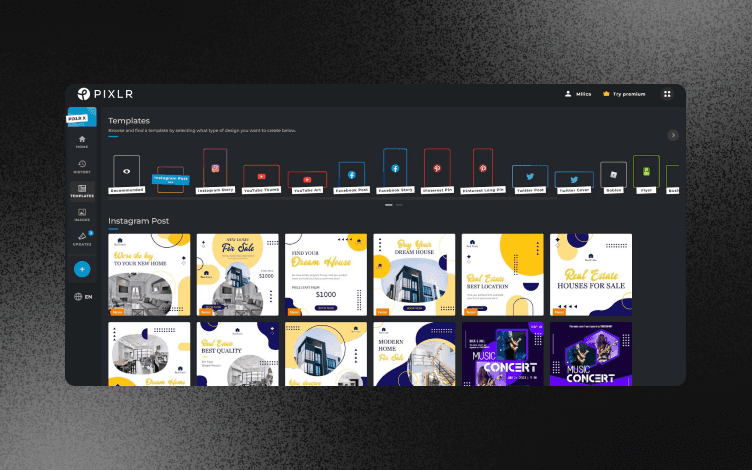
The editing options appear on the left, but most of them are not included in the free plan. Thus, they are labeled with a crown symbol.

Pixlr has a bit of a learning curve in getting familiar with editing tools.
2. PicMonkey vs Pixlr – Features
The number of features a tool has is what makes it compatible in the market. So, let's see what these tools have to offer.
PicMonkey Features
PicMonkey has different features:
Photo Editing & Design Features – They are simple editing and design tools for efficiently producing outstanding images.
Photo editor + Touch Up tools – Crop, resize and alter color and exposure using advanced picture editing tools. To quickly remove photo backgrounds, use the Background Remover tool.
Customizable graphic design features – Add graphics, textures, text effects, and gradients to each layer to fully customize your image.
Hundreds of collage layouts – Mix images, videos, colors, and stock images to create a unique design using collage templates.
Pixlr Features
Pixlr editor also offers numerous features:
Image editor – Retouch your photos using the Effects and Liquify tool. Crop, resize, alter the hue, draw, or add text or element to your image.
Background remover feature – Use it to smoothly remove the background from the picture.
Custom brushes – Simply brush the image's surface to remove any undesirable objects.
3. PicMonkey vs Pixlr – Templates
If you don't have previous experience with designing or don't have enough time to start creating something from scratch – templates are a great option. Whatsmore, you don’t have to worry about the size requirements for different media.
PicMonkey Templates
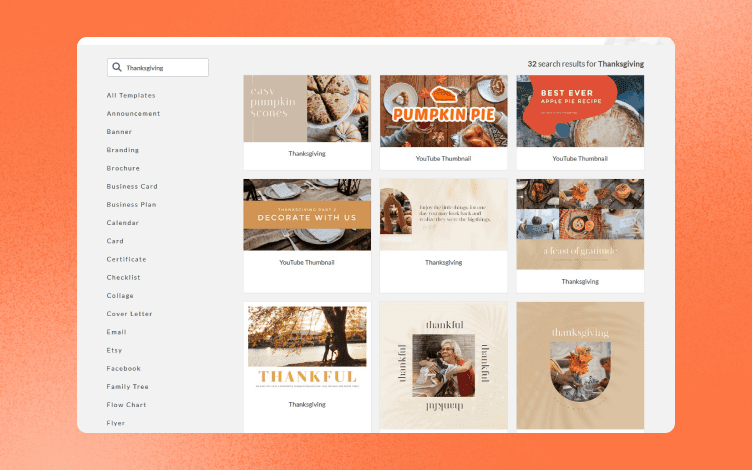
PicMonkey's templates enable you to quickly create professional-looking social media posts, logos, infographics, and more.
You can use a premade template or personalize it with your colors, photos, and fonts to match your brand.
In addition, PicMonkey has more than 1000s templates in its library.
There is a template for almost every occasion:
Social media (YouTube, Instagram, Facebook, Pinterest, Zoom),
Business (Resume, Presentation, Flyer, Banner, Business card),
Various life situations (Proposal, Family tree, Checklist, Vision board).
Every category has its own subcategories. For example, you get the Twitter header and post template by selecting Twitter from the main menu. Also, you can type in the keyword for a faster search.
Pixlr Templates
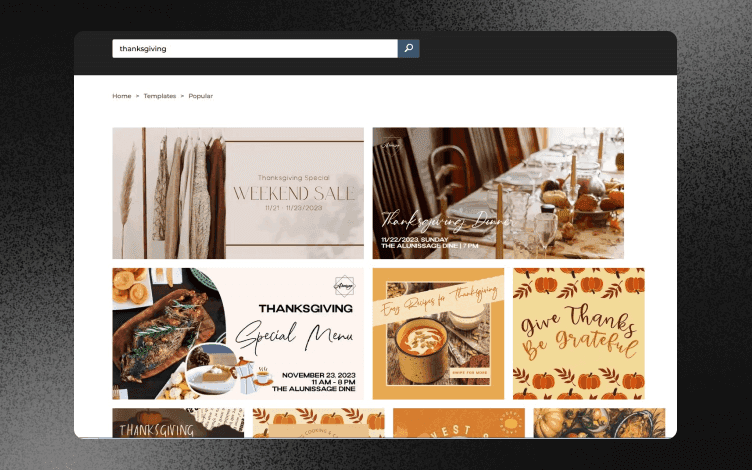
Pixlr’s templates allow you to quickly create anything you need, from Powerpoint templates, brochures, newsletters, and business cards to social media templates.
In Pixlr’s library, you can find hundreds of free and customizable templates for:
Social media (Instagram, Facebook, Youtube, LinkedIn, Pinterest, Podcast),
Logo templates, and
Business ( Presentations, business cards, vouchers, ads).
Refine your search by typing in the keyword or by selecting among the popular template choices from the main page.
4. PicMonkey vs Pixlr – Pros and cons
Let's compare further to get a bit closer to the solution, which app is better.
PicMonkey Pros
✅Library with 1000+ templates, searchable through filter or keyword.
✅ Drag and drop editor.
✅ Batch editor – Edit multiple images at once.
✅ Cloud storage and Content Sharing.
✅ Collaboration tools – Work with your team members on a project while discussing and exchanging information in real-time directly from the app).
✅ Web and mobile app (Android and iOS).
✅ Download images: JPG, PNG, or PDF.
✅ Learning materials, articles, and tutorials.
PicMonkey Cons
⛔ PicMonkey does not include an image size auto-fix feature.
⛔ You are unable to use a picture as the background.
⛔ You may use it for free, but if you want to download the final image, you must subscribe.
Pixlr Pros
✅ Library with hundreds of templates, divided by categories.
✅ Perfect for quick photo edits.
✅ Drag and drop interface.
✅ Watermarking.
✅ It offers Effects and Filters, Transform tools, and Enhancement tools.
✅ Content Import/Export.
✅ It opens most images like PSD, PXZ, JPEG, and PNG.
✅ Web and mobile app (Android and iOS).
✅ Video tutorials are included.
Pixlr Cons
⛔ It has a bit of a learning curve, especially for beginners in design.
⛔ Limited tools.
5. PicMonkey vs Pixlr – Pricing
PicMonkey Pricing
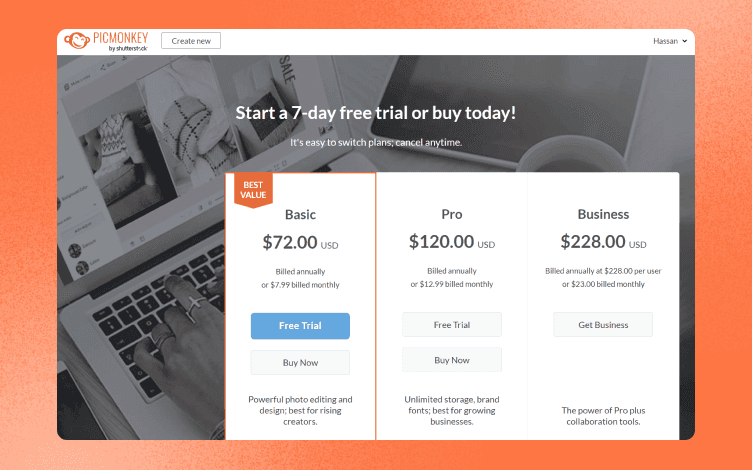
PicMonkey comes with 3 pricing plans. Additionally it offers free trials for – Basic and Pro versions.
Pixlr Pricing
Pixlr offers free and two pricing plans – Premium and Team.

Conclusion
So, there you have it – we tried to compare PicMonkey vs Pixlr tools by covering the basics. So, which one is better?
Well, it all depends on your needs. PicMonkey is a good choice for bloggers and social media content creators because it offers numerous templates for creating beautiful thumbnails, icons, and banners. While Pixlr allows you to create, edit and share stunning images on the go, fast and hassle-free.
But, if we could offer another alternative, we suggest you try Glorify.
Glorify is an all-in-one powerful image editor suitable for eCommerce, small business owners, marketers, and social media creators.
Glorify has an intuitive, easy-to-use interface – perfect for beginners.
Additionally, you will find all the necessary tools for creating and editing images.
No matter if you are starting from a blank canvas or you want to use a premade template, Glorify will back you up.
So, what makes Glorify so distinctive:
Background eraser – This Glorify's AI-powered tool can help your designs stand out by seamlessly removing background in seconds.
Shadows and reflections – Use them to enhance your designs, especially product images.
Annotation tool – Highlight your product features using this helpful tool.
Smart resize – Instantly resize and repurpose any image. This feature is quite useful for using the same design across different media.
Brand kit – Use this tool to create your logo, brand colors, and fonts. Access it anytime, edit it, or save it for later.
Template bundles – Be consistent across all media platforms. Every template comes in a bundle, which means you automatically have the right size for every platform, hassle-free.
Create mockups and mockup scenes – Choose from various templates and themes to get the best mockups for your business.
Share and export –Share your work, organize and collaborate with your team members. Save your finished project, edit it later, or send it via email or directly to a website or social media.
Infinite canvas – A new and exciting feature that allows you to brainstorm and keep all your ideas in one place.
And not just that. Glorify has a library with hundreds of templates suitable for social media to eCommerce platforms.

Find a perfect template by a keyword, or sort them by Niche or Theme.
Also, every template is fully customizable with an impressive photo editor.
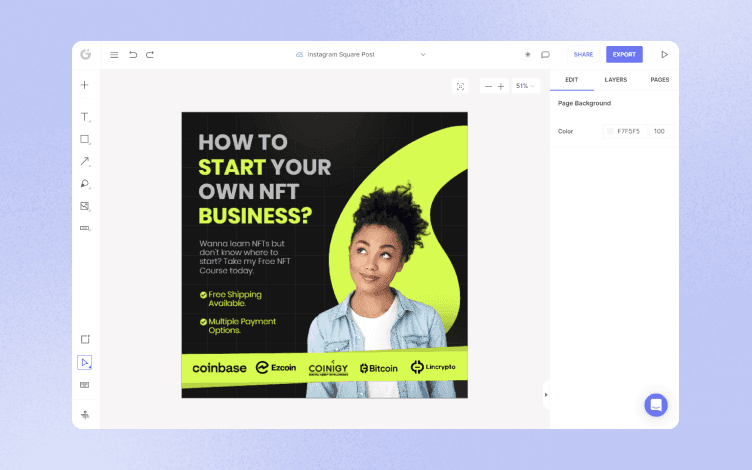
Start your free trial today and see why Glorify is worth checking out!
Features
Alternatives
© 2019-2024 Glorify App - All rights reserved.


